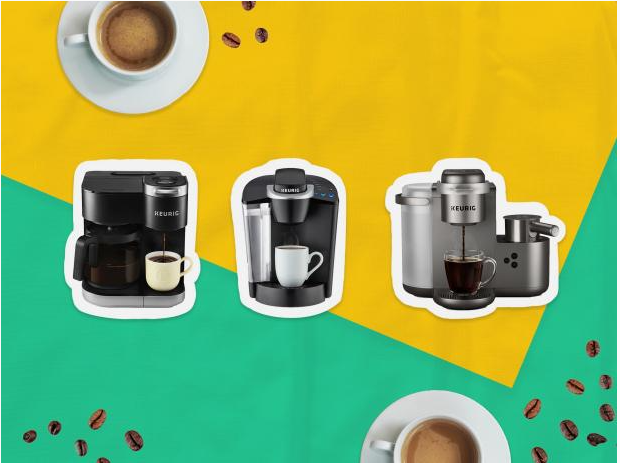
The keurig coffee machine can be used both at home and in businesses. Keurig Dr. Pepper, an American firm, makes the machines. The main Keurig products are single-serve coffee pods called K-Cups, as well as other beverage pods and the special machines that employ these capsules to brew beverages.
If you’re new to using a Keurig coffee maker, this article will be a huge help to you. We’ll go through the methods and steps for using a Keurig coffee machine as well as the various beverages that may be prepared with it.
5 Main Ways to Use a Keurig.
Keurig coffee makers can be design to be simple to use.Therefore here mentioned five essential actions to consider.
-
- Initial setup and cleansing brew
-
- Brewing and daily use
-
- Auto-on and auto-brew modes (available on some models)
-
- Regular Maintenance
-
- Draining the internal water tank
Keurig Instructions
Before you use your Keurig for the first time, you’ll need to get it set up and flush water through its internal components.
The Keurig is a particular kind of single-serve coffee maker that utilizes “K-Cups,” which are unique coffee pods. These devices are quick, practical, and simple to use with a little preparation. You’ll prepare to brew your first cup once you’ve set up your machine and completed a cleaning cycle. Don’t forget to descale and clean your Keurig once in a while to keep it in good working condition.
-
- Unbox your brewer and plug it in.
Grab the package, take the Keurig brewer out of the packaging, remove the basic tape holding some of the parts together, and plug it in.
-
- Lift the handle and discard the shipping disc, if included.
This step does not apply to breweries that don’t come with a shipping disc.
Some brewers have included a temporary disc in the pod attachment. Lift the handle and take it off if yours is one of these models.
-
- Remove the water reservoir and clean it with soap and warm water.
This step does not apply to brewers with a non-removable water reservoir, such as the K10, K15, and B31 Mini series brewers.
In order to clean the water reservoir, take it apart and use a soft cloth or sponge along with warm or hot water and soap. Use a smooth Brillo pad rather than a rough one.
-
- Prime the charcoal with water.
The charcoal water filters are not intend to be open and put in the water filter holder right away. Instead, prime it by doing the following quick steps:
Rinse it in cool water for a minute, making sure it absorbs all the water necessary.
Five minutes in a basin of water will do.
By massaging the water filter, you may ensure that any stray charcoal flakes fall into the water bowl rather than your coffee.
Massage, soak, and rinse.
-
- Insert the charcoal water filter into the water filter handle and snap it into the reservoir.
The charcoal water filter holder is made up of two components, as follows:
-
- The lower pod holder
-
- top handle with a bottom attachment
Place the handle over the bottom portion, the charcoal water filter on top, and then place the entire assembly into the water reservoir. The pieces will fit together neatly.
-
- Fill the water reservoir to the MAX FILL line.
You can fill a charcoal water filter with tap water if you have one. while for make sure to fill the water reservoir with filtered or spring water if you don’t have a filter.
-
- Press the power button and wait for preheating to complete.
This can take up to three minutes, depending on your model.
-
- Grab a mug and place it on the drip tray.
Some models have a censor that won’t brew unless there’s a mug on the drip tray. Even if there isn’t one, don’t make a shambles.
-
- Lift and lower the handle without inserting a Keurig coffee pod.
You could use a coffee pod, sure, but this is our purifying brew, so there’s no use in wasting it.
-
- Select the maximum brew setting and press brew.
Depending on your model, the coffee substitute you’re using will be ready in 30 to 3 minutes. Consider the internal parts properly rinse once it’s finish, and your Keurig brewer is ready to start getting everyday use.


